 How to Fix the Leverage Browser Caching Warning in WordPress.
If you have ever run your WordPress website through Google PageSpeed Insights or Pingdom then you have probably seen that big yellow Leverage Browser Caching warning. And that is probably why you ended up at this post. Today we will dive into what this warning means, how it affects you, and what your options are as it pertains to your WordPress site.
What is the Leverage Browser Caching Warning?
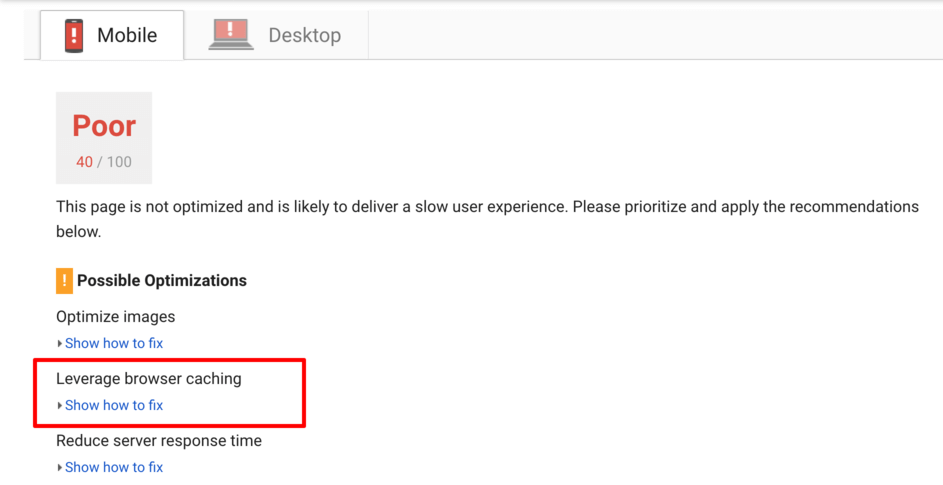
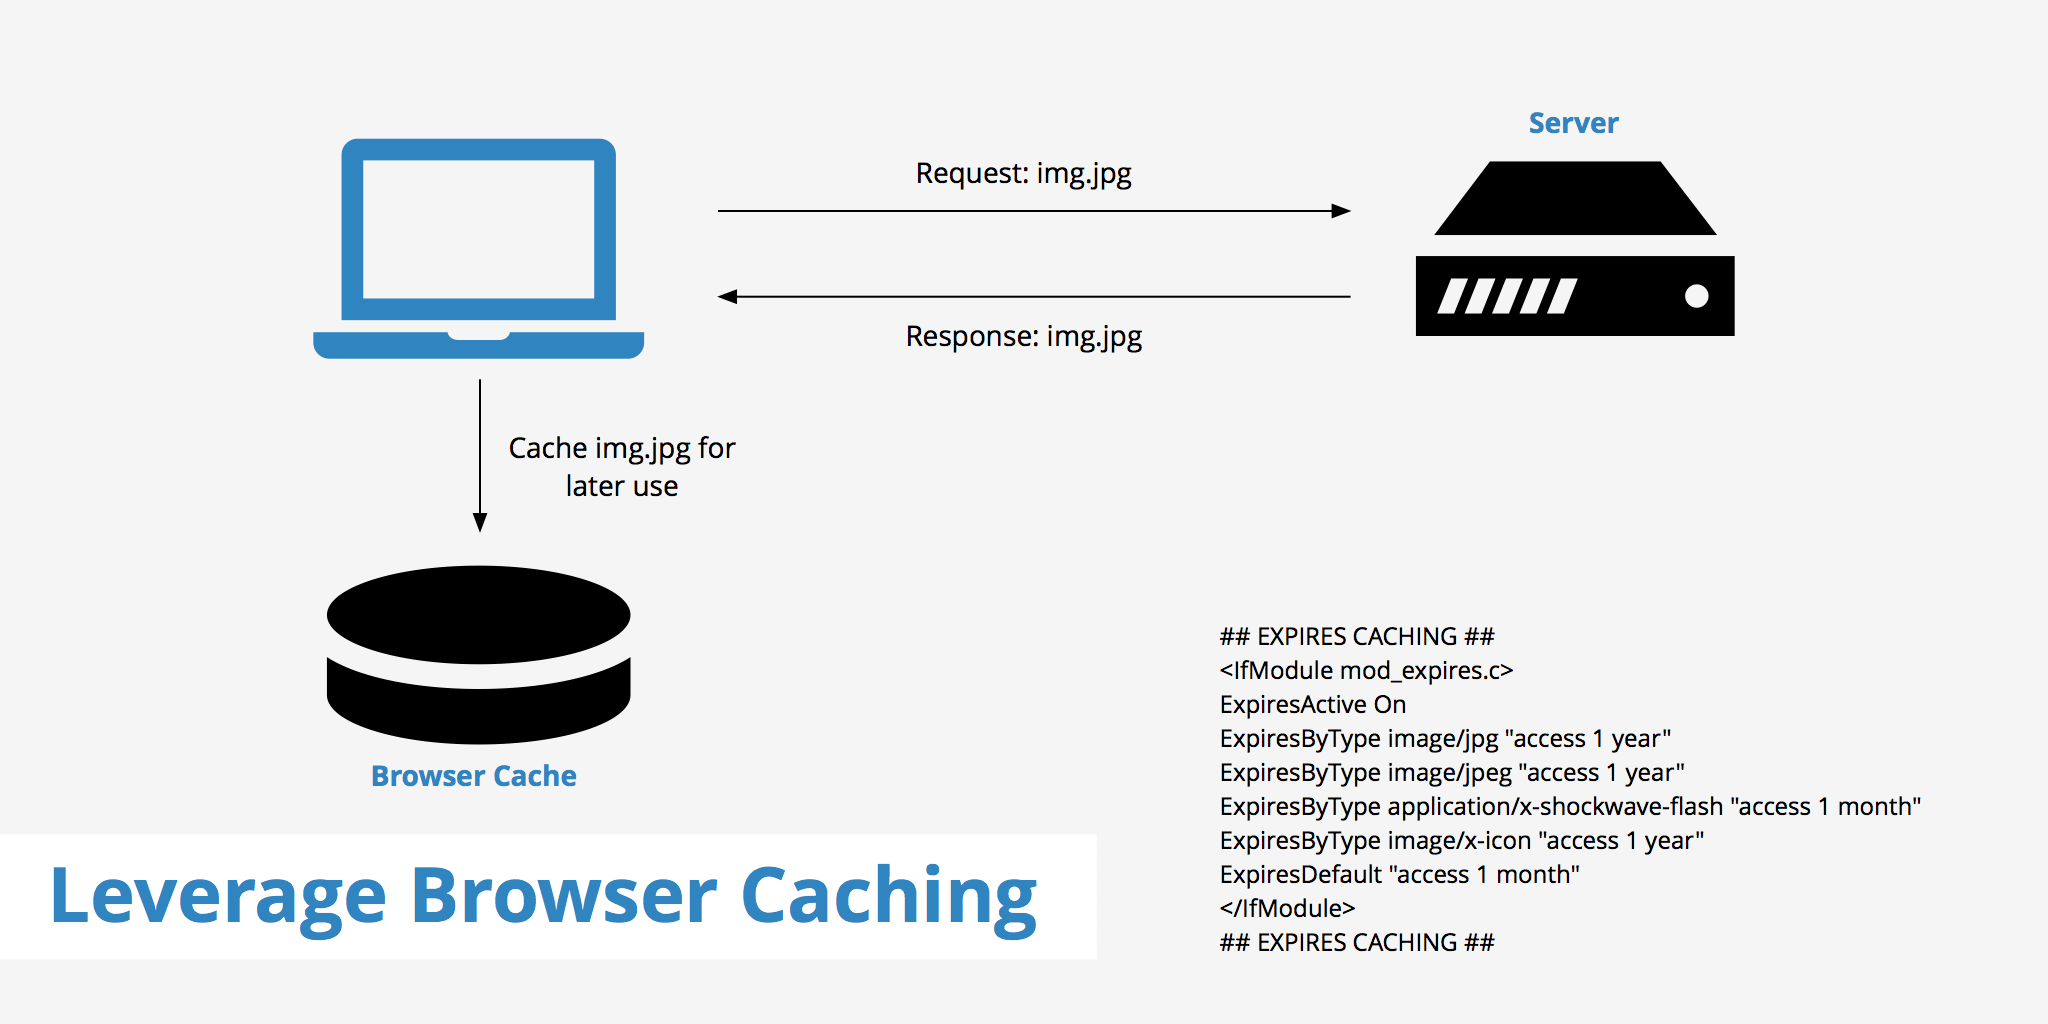
The leverage browser caching warning, as shown below in the screenshot, is referring to your browser cache. Whenever you visit a website, it downloads assets, such as HTML, CSS, JavaScript and images into your browser’s local cache. This way it doesn’t have to retrieve them on every page load. The warning itself is returned when your web server, or a third-party server, doesn’t have the correct HTTP cache headers implemented. Or the headers might exist, but the cache time is set too short.
You might also see this warning in the new “think with Google” website speed test, which is powered by Google PageSpeed Insights. This was designed to be more of a marketing tool by Google, but this has resulted in lot of clients now simply forwarding these errors to their webmasters. Leaving WordPress developers and designers looking for ways to quickly fix it to appease their clients.

Fix the Leverage Browser Caching Warning in Word-Press
When it comes to fixing the leverage browser caching warning there are a couple different scenarios that are usually encountered by WordPress users. Obviously, the most common one is that your web server is not correctly configured. The second irony is that the Google Analytic’s script gives us the warning. And the third is other third-party scripts returning the warning. See what your options are below.
1. Leverage Browser Caching on Server
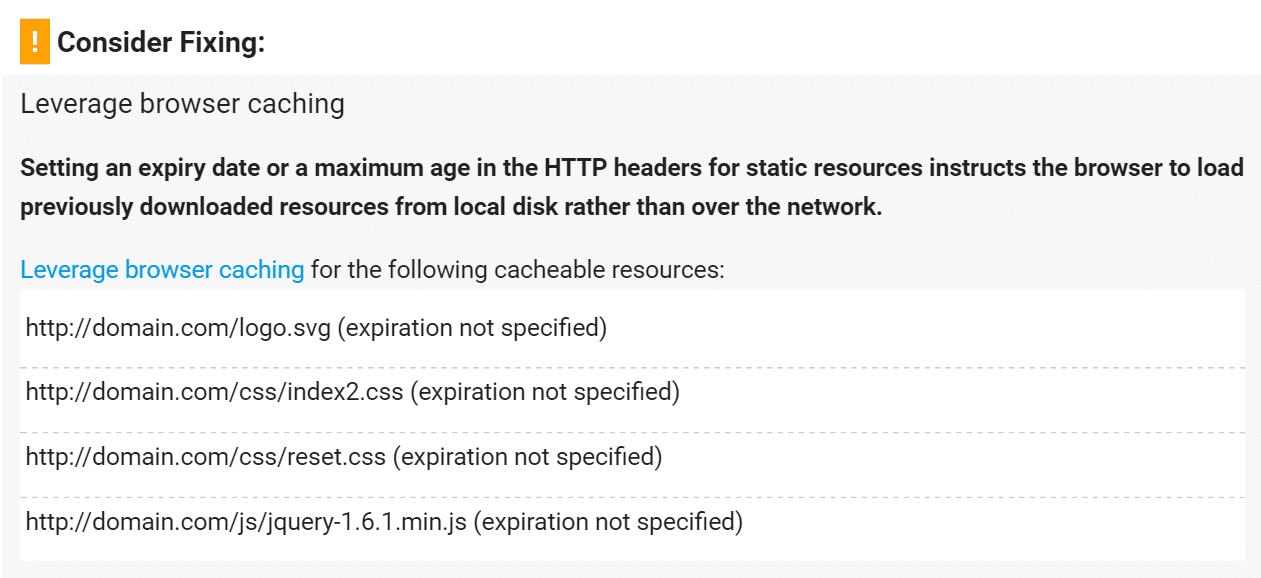
The first and most common reason the leverage browser caching warning is triggered is that your web server doesn’t have the appropriate headers in place. In the screenshot below in Google PageSpeed Insights you will see the reason is that an expiration is not specified. When it comes to caching there are two primary methods which are used, Cache-Control headers and Expires headers. While the Cache-Control header turns on client-side caching and sets the max-age of a resource, the Expires header is used to specify a specific point in time the resource is no longer valid.

So now let’s explore how to add these headers to your web server. Note: You don’t necessarily need to add both of the headers, as this is a little redundant. Cache-Control is newer and usually the recommended method, however, some web performance tools like GTmetrix still check for Expires headers. These are all examples, you can change file types, expire times, etc. based on your needs.
Important! Editing your Nginx config or Apache .htaccess file could break your site if not done correctly. If you are not comfortable doing this, please check with your web host or developer first.
Adding Cache-Control Header in Nginx
You can add Cache-Control headers in Nginx by adding the following to your server config’s server location or block.
location ~* \.(js|css|png|jpg|jpeg|gif|ico)$ {
 expires 30d;
 add_header Cache-Control "public, no-transform";
}
So what exactly is the code above does? Basically, it is telling the server that the file types are not going to change for at least one month. So instead of having to download the resource every time, it caches it on your computer. This way it is faster for return visits.
Adding Expires Headers in Nginx
You can add Expires headers in Nginx by adding the following to your server block. In this example, you can see how to specify different expire times based on file types.
    location ~*  \.(jpg|jpeg|gif|png)$ {
        expires 365d;
    }

    location ~*  \.(pdf|css|html|js|swf)$ {
        expires 2d;
    }
Adding Cache-Control Headers in Apache
You can add Cache-Control headers in Apache by adding the following to your .htaccess file. Snippets of code can be added at the top or bottom of the file (before # BEGIN WordPress or after # END WordPress).
<filesMatch ".(ico|pdf|flv|jpg|jpeg|png|gif|js|css|swf)$">
Header set Cache-Control "max-age=84600, public"
</filesMatch>
Adding Expires Headers in Apache
You can add Expires headers in Apache by adding the following to your .htaccess file.
## EXPIRES HEADER CACHING ##
<IfModule mod_expires.c>
ExpiresActive On
ExpiresByType image/jpg "access 1 year"
ExpiresByType image/jpeg "access 1 year"
ExpiresByType image/gif "access 1 year"
ExpiresByType image/png "access 1 year"
ExpiresByType text/css "access 1 month"
ExpiresByType application/pdf "access 1 month"
ExpiresByType application/javascript "access 1 month"
ExpiresByType application/x-javascript "access 1 month"
ExpiresByType application/x-shockwave-flash "access 1 month"
ExpiresByType image/x-icon "access 1 year"
ExpiresDefault "access 2 days"
</IfModule>
## EXPIRES HEADER CACHING ##

If you are a Kinsta client you don’t have to worry about adding these headers. These are already in place on all of our Nginx servers. And remember, if you use CDN provider like KeyCDN, these headers are most likely already being set on your assets.
2. What About Other 3rd Party Scripts?
If you are running a business on your WordPress website, most likely you have additional 3rd party scripts running to track conversions, A/B tests, etc. This might include scripts like Facebook conversion pixels, Twitter, CrazyEgg, Hotjar, etc. Unfortunately, since you can’t host those locally there is nothing much that can be done as you don’t have control over the caching of those 3rd party assets. But for many smaller sites and bloggers, you most likely can get rid of that leverage browser caching warning altogether by following the recommendations above.
I hope You Like may article any Question Just Comment us. Thank you


